
Car Stereo Receiver Replacement
07 Jul 2014 • 2 min. readA few months back I replaced the stereo receivers in a 10 and a 20 year old family car. Fed up with the lack of auxillary input (or even CD player, on the older one), I started on what would end up being a rather straightforward project.
Shopping
I ordered all my stuff from Amazon, because Prime shipping is awesome. Shopping ended up being the hardest part for me, because I wasn’t sure about compatibility or even what harware was required. Hence this.
Receiver
Receiver units follow an ISO standard for sizes, which means your car takes one of two sizes: single or double DIN. A single DIN is about two inches tall.
If you’ve got a double slotted opening, either get a double height receiver, or a cheap mounting unit for a single slot sized device. I went with this receiver, as the cheapest thing I could find with an auxillary input.
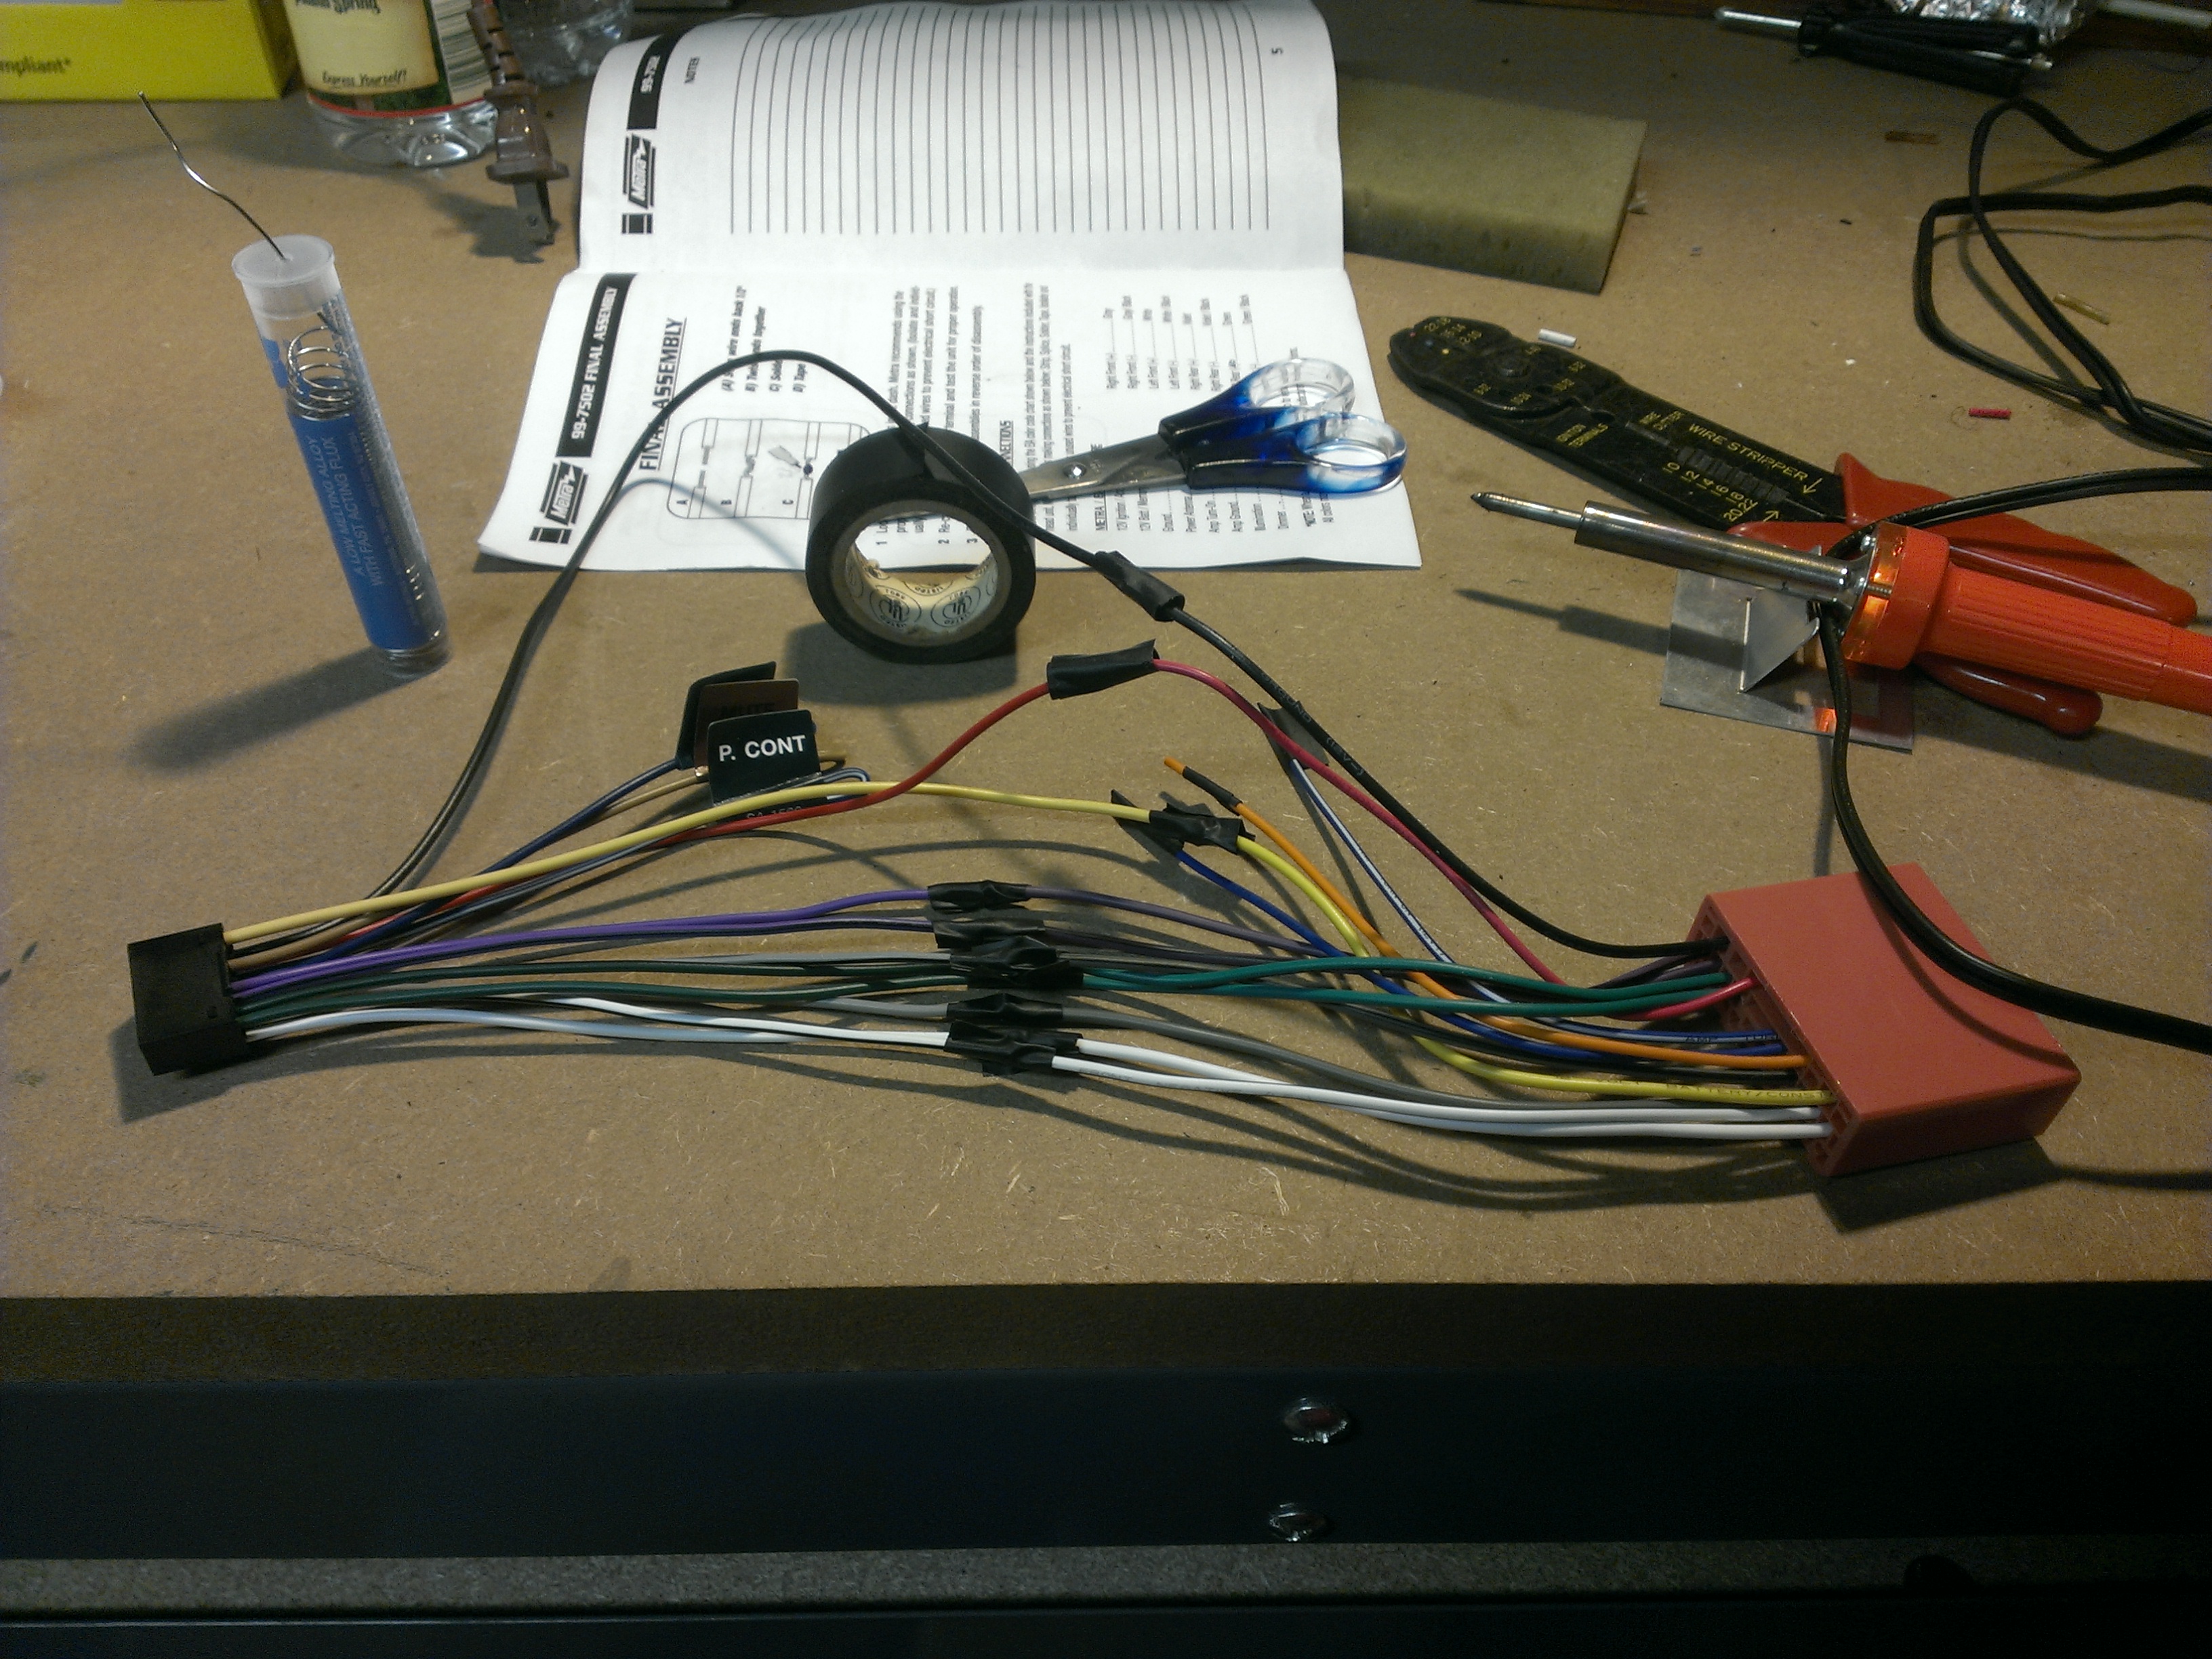
Wiring Harness
Though the receiver sizes may be standardized, the wiring isn’t. The receiver has a bunch of wires leading out, but the dashboard expects a rectangular plug. You’ll want to pick up a Metra Wiring Harness for your make and model. Amazon is pretty nice for this sort of thing, letting you filter by compatibility with your vehicle.
More?
The older car needed a special adapter for its non-standard radio. Never got that working (I don’t really miss it), but that means you should look around and see if you can find any model-specific quirks.
Installing
Soldering
To wire up the receiver and wiring harness, you gotta solder. Everything’s color coded, so it’s pretty self explanatory. Unless you don’t know how to solder, in which case pick up a cheap kit like this one and get learnin’.
Strip the coating from the wires, intertwine the exposed ends, get a nice dollop on there and let it cool. Insulate with electrical tape or the likes.
Time for some open-heart surgery
This part can vary widely from car to car, so you’ll need to look for guides on receiver installation for yours, perhaps with some help from the fine chaps over at YouTube. For one car I had to remove the entire dash, for the other I was able to unscrew just the receiver (but set off the anti-theft alarm midway).
Pop the hood and unplug the battery before starting, of course.
After freeing it, the old receiver should slide out with some encouragement, at which point you can swap the cable plugs and slide the new in. Daiylight and an extra pair of hands to hold the receiver while you grope around for the cables would be handy, though I ended up doing it alone in the dark because I couldn’t wait.
Close it up, reconnect the power, engine on, and hope for the best.
Done
I’m far from being competant at auto maintenance (this was my first time under the hood, even), but this project was pretty approachable, cheap (<$100) and requires minimal tools – once you’ve figured out what parts you need.