
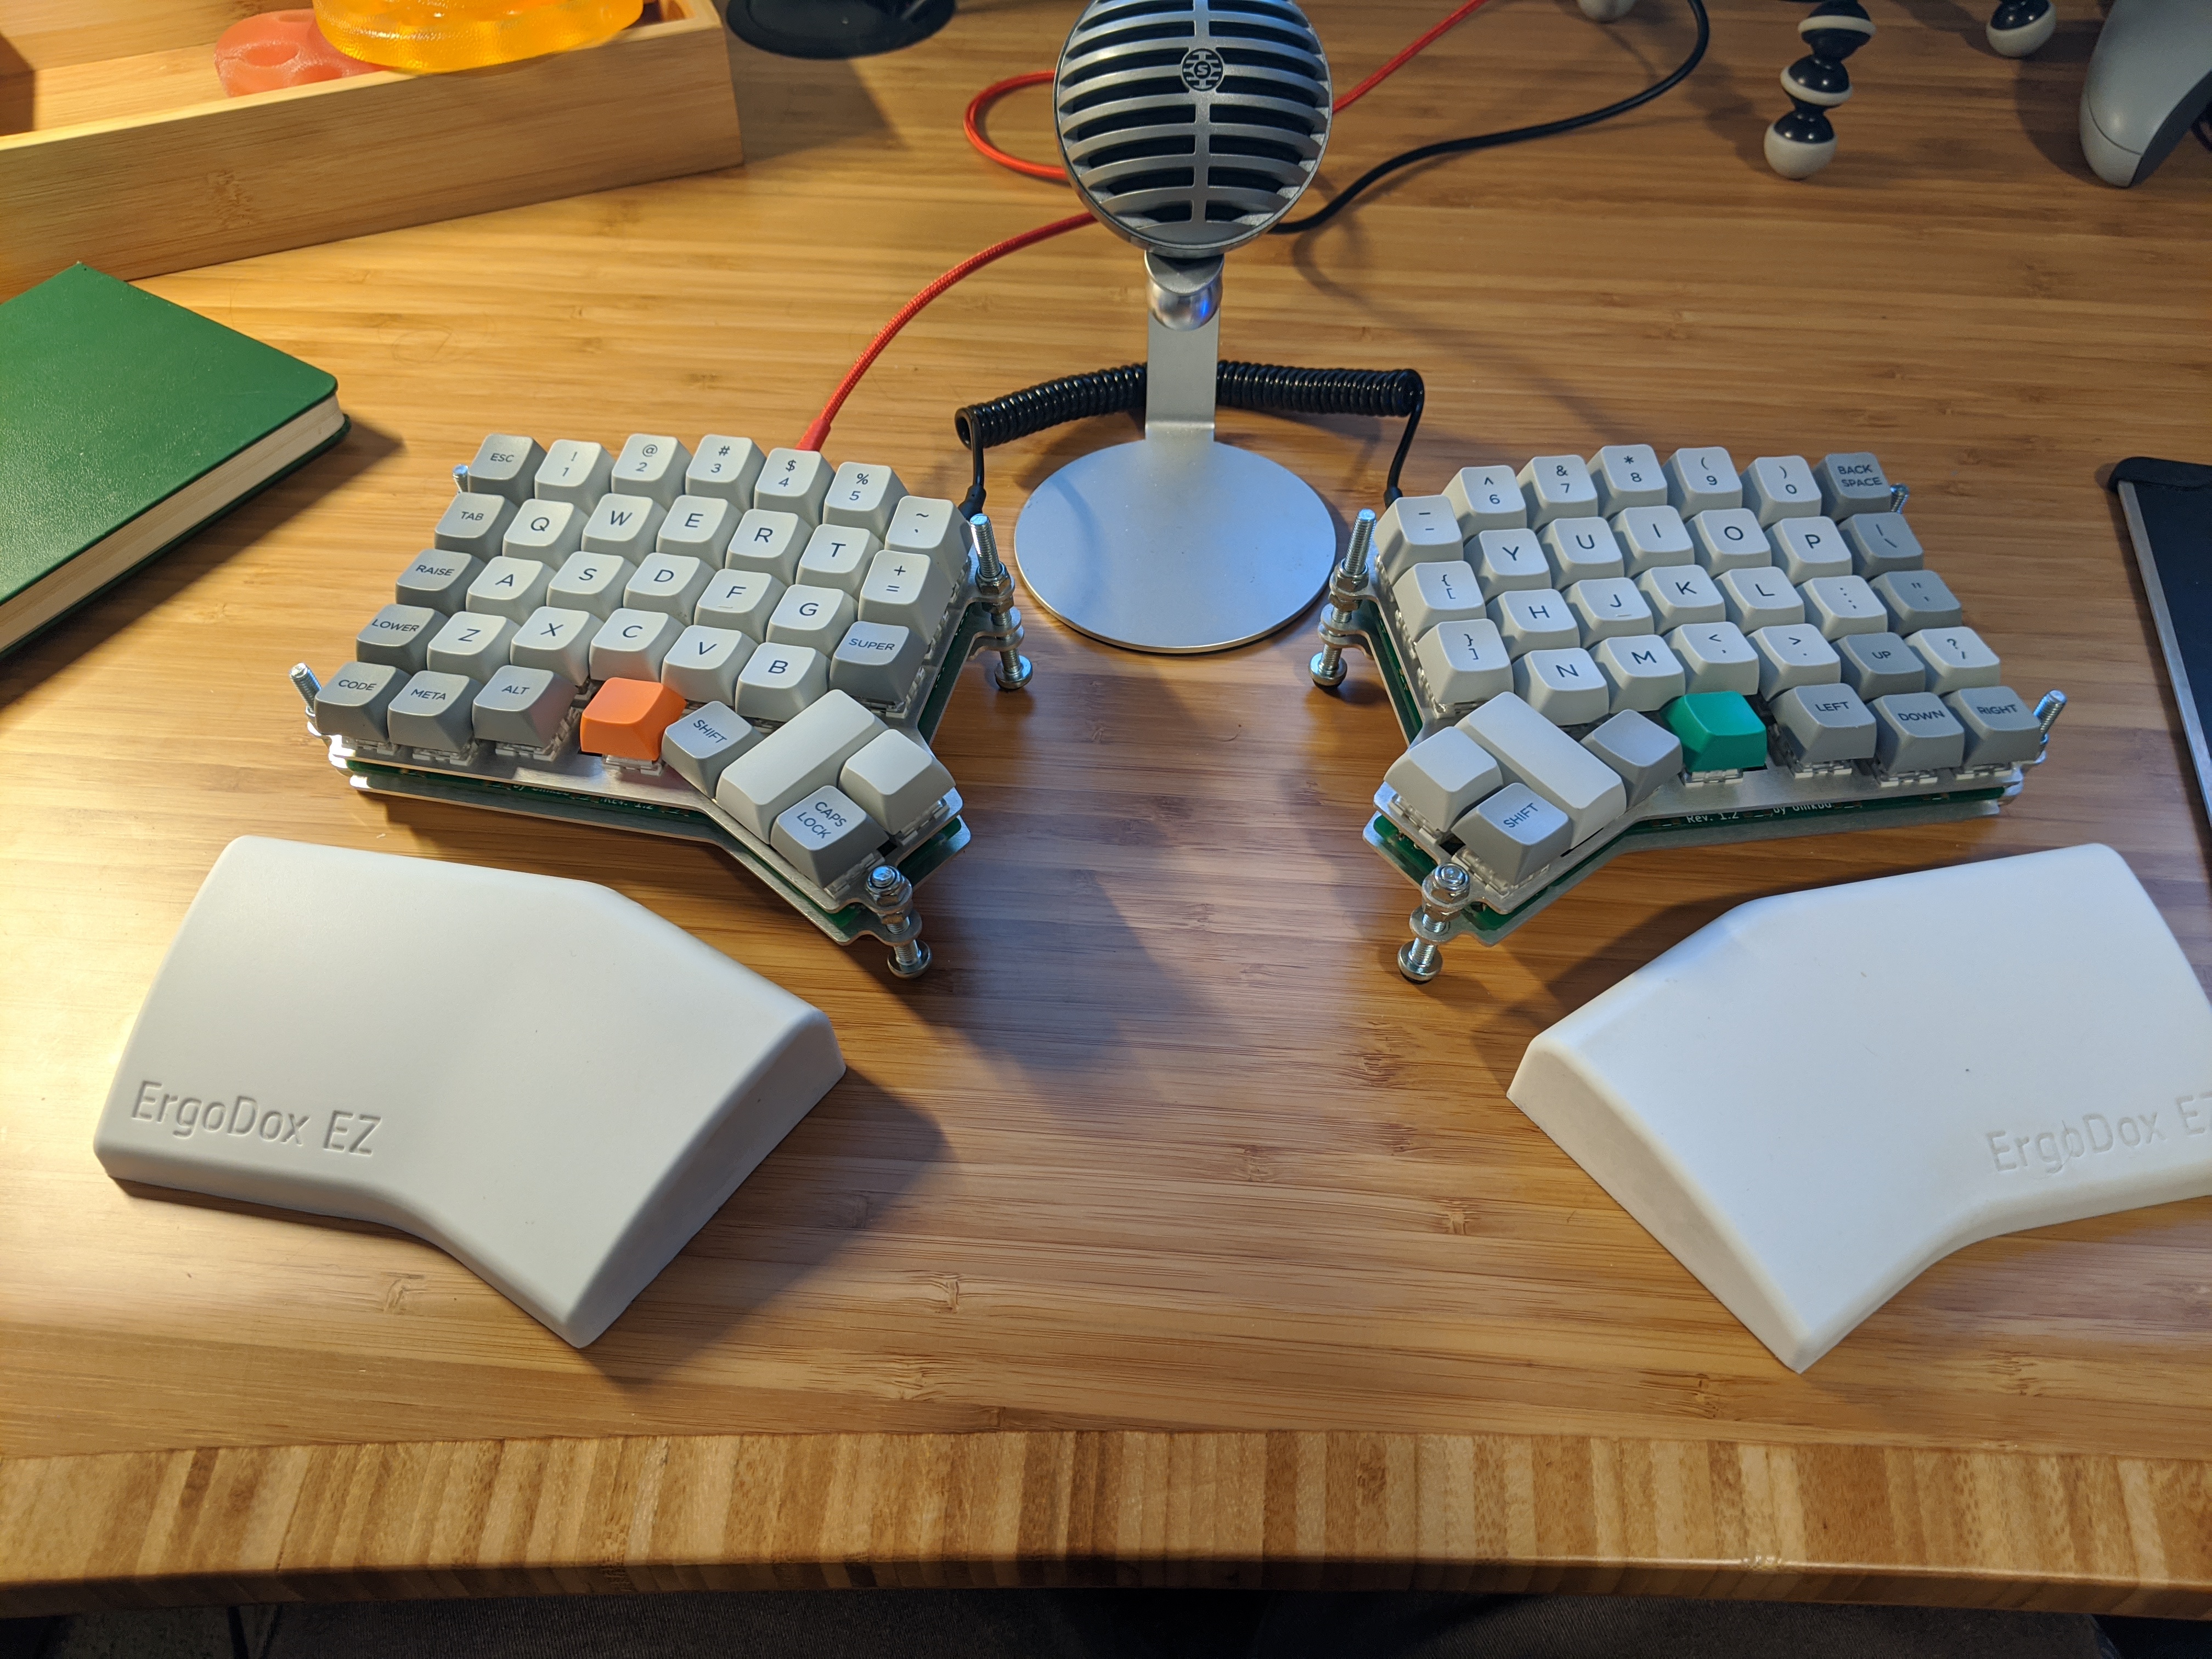
Building the ErgoDash
10 Jan 2021 • 9 min. readBuild log-ish document for choosing and assembling a particular split ergonomic mechanical keyboard.
It was 2018 when I first realized I needed to do something about my keyboard ergonomics situation.
During a period of particularly mechanical refactoring by day and more Counter-Strike than perhaps strictly responsible by night, I started showing signs of light RSI in my left hand.
Not willing to risk the shame (and, you know, career-altering disability) of having Ctrl+C‘d my way into Emacs pinky (as an ostensible Vim user no less!), I switched to a tented ErgoDox EZ at work.
It took a couple weeks to get up to speed on the ErgoDox, especially the aligned columns, but it was a marked improvement. Still, I felt the same complaints about the design as many note: in particular, that the thumb cluster is awkwardly shaped and too far away to be particularly useful. Come May 2020 and the beginning of long term working from home, spending full days at the same desk, I decided to give a hobby build a shot.
Requirements
Split hands. While this means the additional hassle of needing to reorient the keyboard whenever I move it, it also means I can place the two halves apart and angled slightly inward such that my elbows never have to leave my armrests.
Column stagger. While the normal QWERTY layout has subsequent rows staggered from each other, this is a relic of the not-jamming-the-typewriter days. This doesn’t really make sense, since our fingers are… straight (and it looks really weird when split.). A popular custom option is to arrange the keys into a rectangular grid, which is a bit more natural, but the column stagger layouts take this a step further by vertically shifting the columns of the longer fingers.
Thumb modifiers. Standard keyboard layouts reserve both thumbs for a single space key. Considering the other fingers are generally responsible for four to eight keys, that seems a bit… unnecessarily fault-tolerant? My plan was to offload all the modifiers I was contorting my left pinkie for onto the left thumb.
Number keys, arrow keys. The enthusiast ergonomic keyboard world seems to love these minimalist designs where every input beyond the basic alphabet is hidden away behind a layer or two of chording, with the split goal of eliminating all hand movements and achieving a state of enlightened minimalist bliss. I’m actually quite fond of my arrow keys! Plus my discomfort is from shortcuts, not wrist strain, so chording would be a step in the wrong direction here.
Usable for PC gaming. There’s actually not too much to this one – any keyboard that doesn’t try shed every non-alpha key is probably going to have a serviceable left hand.
Some internet prowling turned up only the ErgoDash as fitting these criteria, though the Corne and Iris look promising if I were ready to give up the arrow keys. The Dactyl Manuform looks like quite the adventure, but I didn’t have access to 3D printing.
Parts
PCB Printing
ErgoDash PCBs seem to occasionally go for sale as group-buys, but at the moment only falba.tech carries it (for a modest €16.26, and less modest €30.00 of shipping). Luckily as an open source design, we can actually have our own boards printed by sending the design files off GitHub to a manufacturer. I used JLCPCB to get 5 boards (minimum quantity) at 1.6mm thick, with the fancy lead-free ENIG finish (though I did use leaded solder, so I guess my window of opportunity for licking the board has closed), shipped for $45.65.
The interface was a bit bewildering (and certainly made it clear I was playing with industrial prototyping beyond my realm of understanding), but the experience was pleasant: it took 11 days to pass through manufacturing, review, and delivery, beating out some of the off-the-shelf orders I’d placed.
Case Cutting
A similar situation for the case assembly: I uploaded the files from the repo to Ponoko for laser cutting, where a 1.5mm black acrylic case ran me around $50 (of which $14 is a one-off setup fee) As it turns out, 1.5mm was way too thin: the thumb cluster plate snapped during assembly, and the project became a shaky mess of tape. I’d guess 3mm is a more appropriate acrylic thickness.
I ordered a second case, this time using another user’s variant which adds four holes for M5 screws around the keyboard for a tenting setup. I had this one made in 1.6mm aluminum (a material that can actually stay together at that thickness) for only $6 more than the first order. Underwhelmingly I ended up finding my favorite degree of tenting is no tenting, though, so now I’ve got these unused screw holes sticking out all over.
Note that for some reason the official case design includes multiple size variants in one file, so I deleted the ones I didn’t need in Inkscape before uploading.
Hot Swapping
I chose a popular option for making a hot-swappable keyboard: instead of soldering the switches directly into the PCB, which locks you into a commitment to one switch type and makes repairs harder, we solder in two of these Mill-Max 0305 tubes per switch. The switch legs stick inside the tube with friction, otherwise operating normally. They do slightly affect the angle at which the switch rests, but the top plate of the case stabilizes nicely.
Elite-C
I also swapped the Arduino Pro Micro for the backwards-compatible Elite-C which boasts a sturdier USB-C port. Aside from needlessly driving the price up, I figured I could cleverly also avoid installing the standalone reset buttons as the Elite-C has one on-board – what I hadn’t thought through is that the on-board reset button is all but inaccessible once installed, so flashing a new layout to this thing currently requires me to wedge tweezers inside the case and feel for the button.
Keycaps
Normal mechanical keycap sets don’t include enough 1U caps to cover this layout, so I’ve seen a lot of folks use stray keys or cheap blank PBTs.
The “MDA Big Bang Ortholinear” set, available unreliably around the internet for $60, is unusual for its wide selection of keys (the heights even lined up for me, other than the stray += sticking out).
Key Switches
While I first built this using the tried and true MX Blues, I pulled those out for a set of Kailh Box Whites (80 for $30). I’ve been loving these switches: slightly lighter than the blues, and with an audible click both on the downstroke and the upstroke.
The PCB can handle both PCB-mount and plate-mount switches, where PCB-mount have little plastic nubs for stabilizing against the PCB and both types can be held in place by the top plate of a case. It’s technically possible to omit the case altogether using PCB-mount switches, but then each keystroke’s force drives straight into the PCB rather than being distributed through the case assembly. In my case, the Kailh box switches are plate-mount only, so the decision was easy.
Misc
The remaining parts were sourced from keeb.io or Amazon, inventory depending.
| part | price |
|---|---|
| Diodes x100 | $4.68 |
| 6mm M2 standoffs | $3.49 |
| 10mm M2 standoffs | $3.49 |
| many many M2 screws | $12.69 |
| Cherry MX Stabilizer x2 | $3.98 |
| TRRS Jack x2 | $1.00 |
| TRRS Cable | $3.99 |
| Braided USB C cable | $5.90 |
| Shipping | $4.24 |
The project total, irresponsibly ignoring both waste from bad purchases and the cost of non-consumable tools and equipment, comes to around $300. While that’s not exactly a reassuring number, it is cheaper than the shelf price on the ErgoDox EZ.
Assembly
This was my first time soldering anything onto a PCB, and it went luckily quite smoothly once I found myself an iron capable of precise temperature control.
Once the Elite-Cs were flashed and installed, I was able to debug the few bad joins by shorting connections with my tweezers.
Assembly is fairly straightforward following the official build guide, so let’s call this bit a visual interlude.
 That’s… not supposed to happen, right?
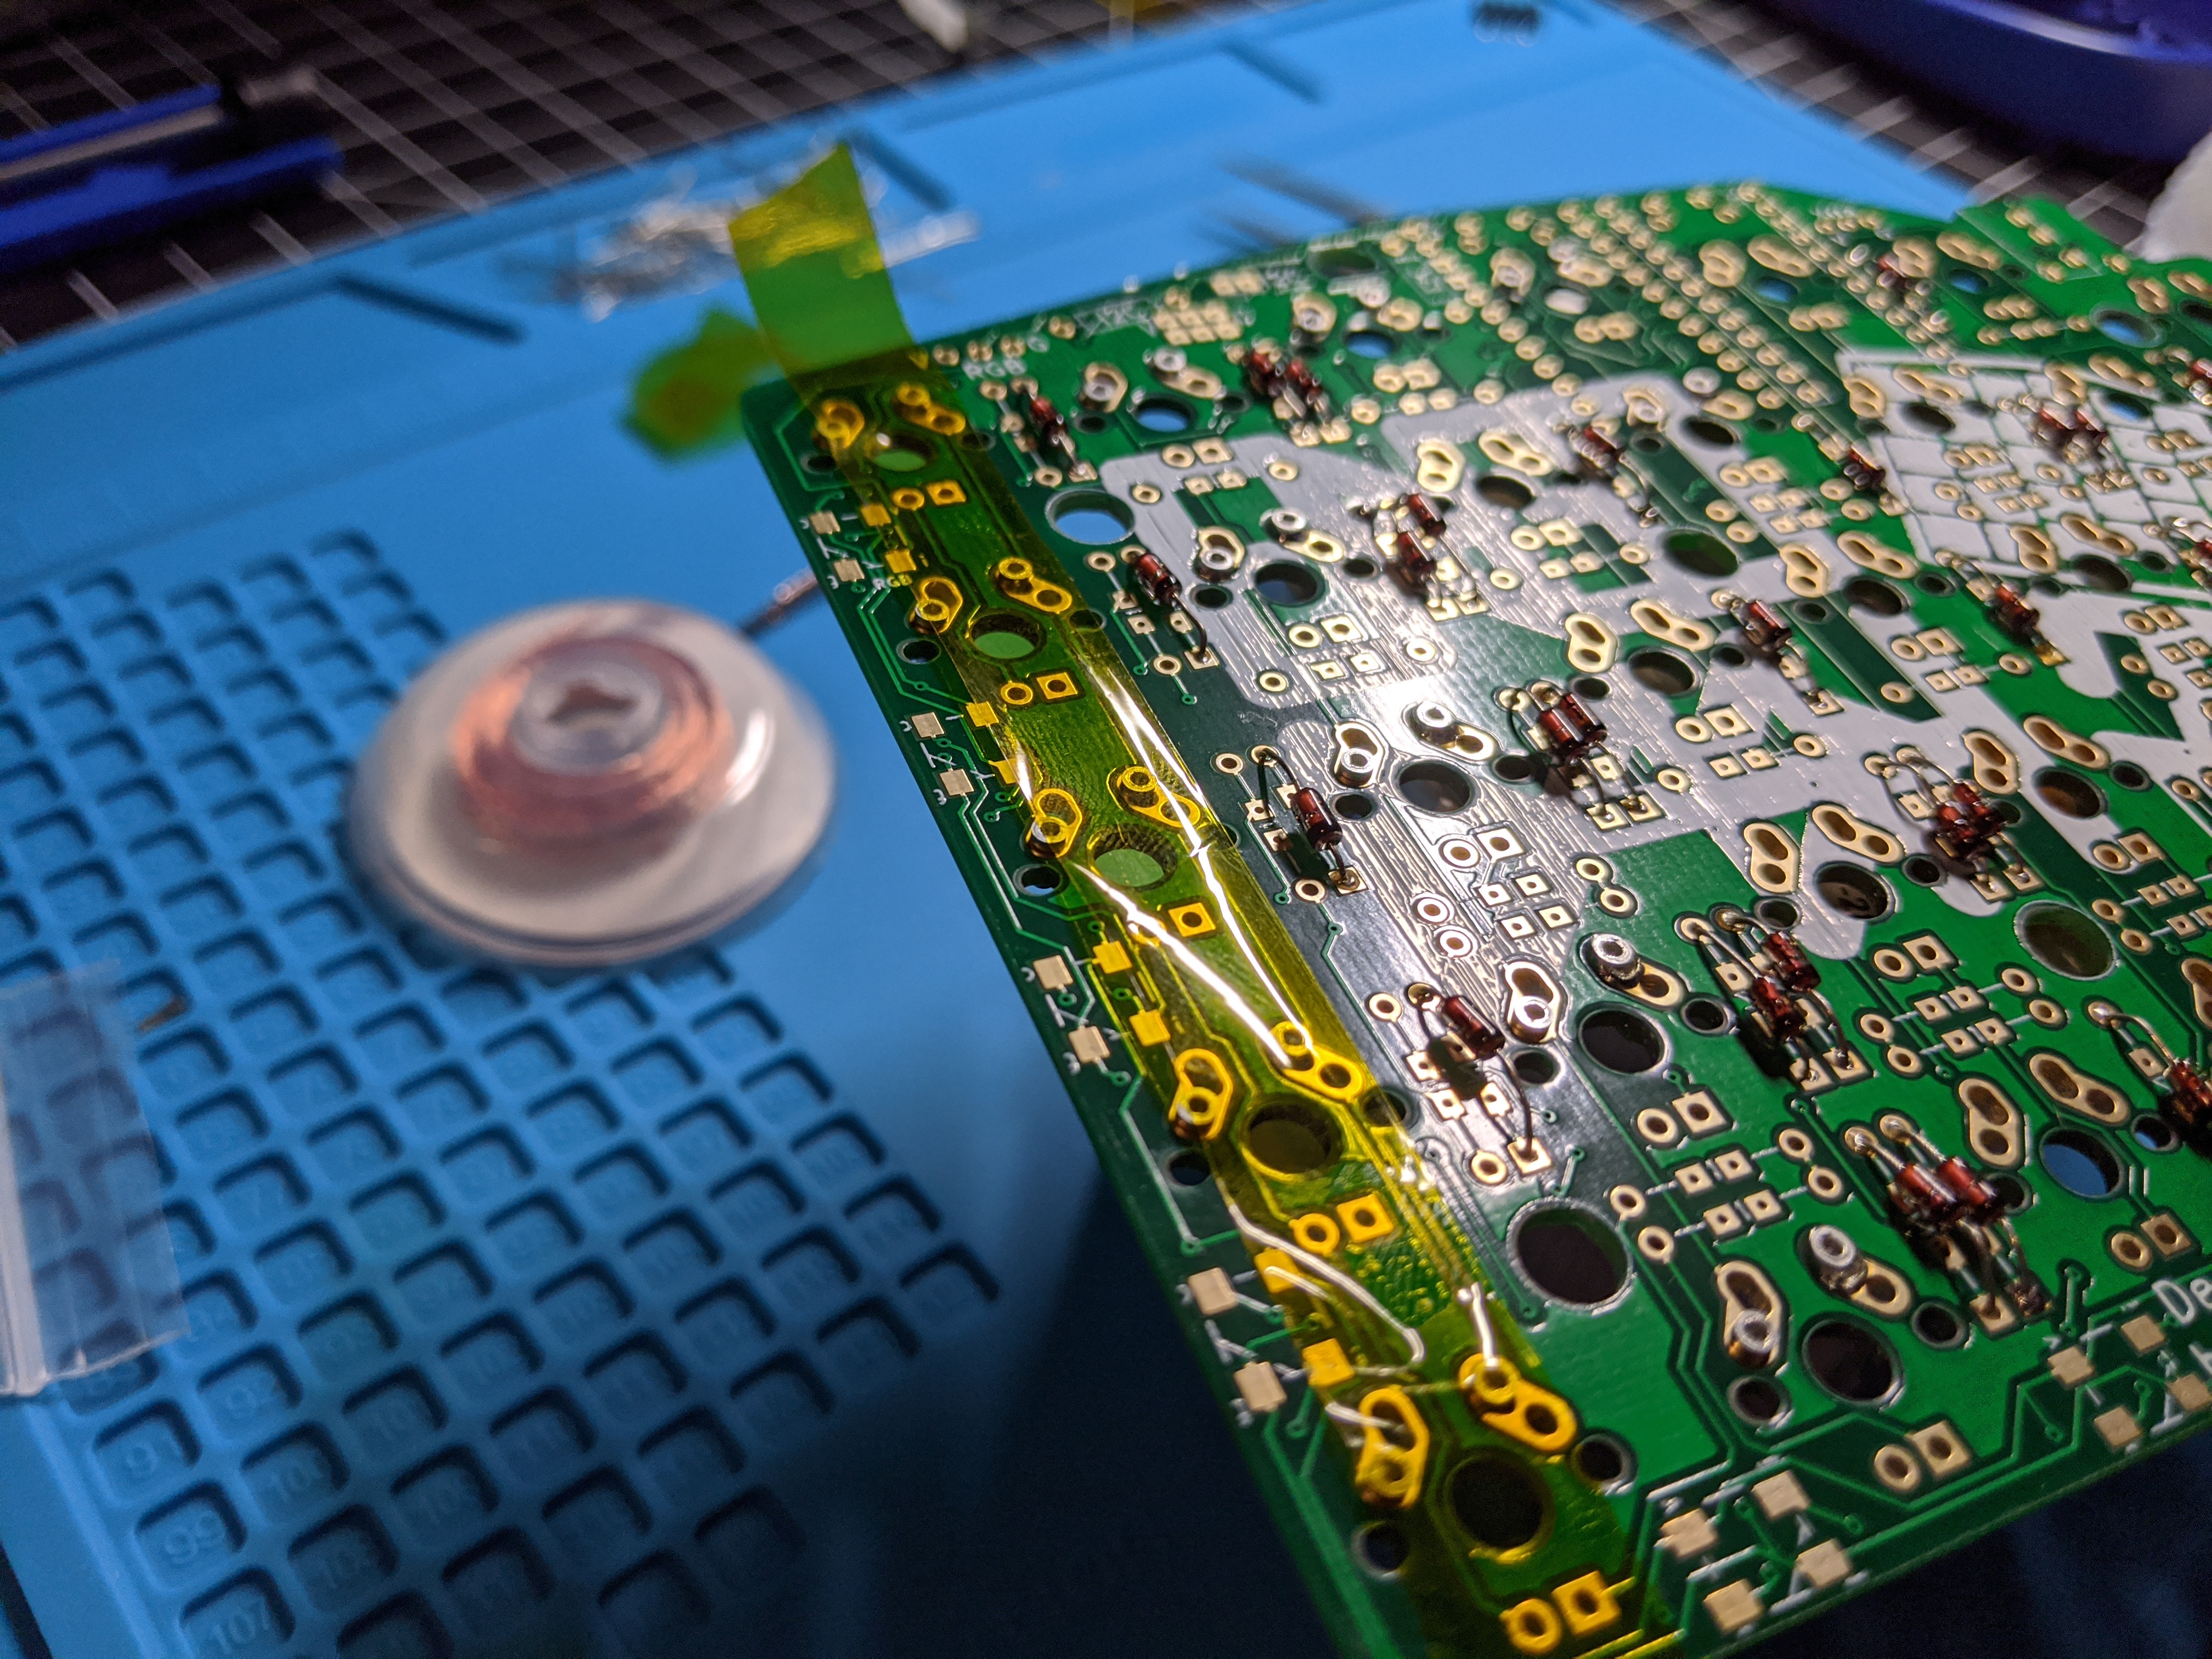 Heat resistant tape is super handy for keeping the hotswap sockets in-place when soldering.
![]() Cut a piece of cardboard to maintain space between the Arduino and the PCB.
Cut a piece of cardboard to maintain space between the Arduino and the PCB.
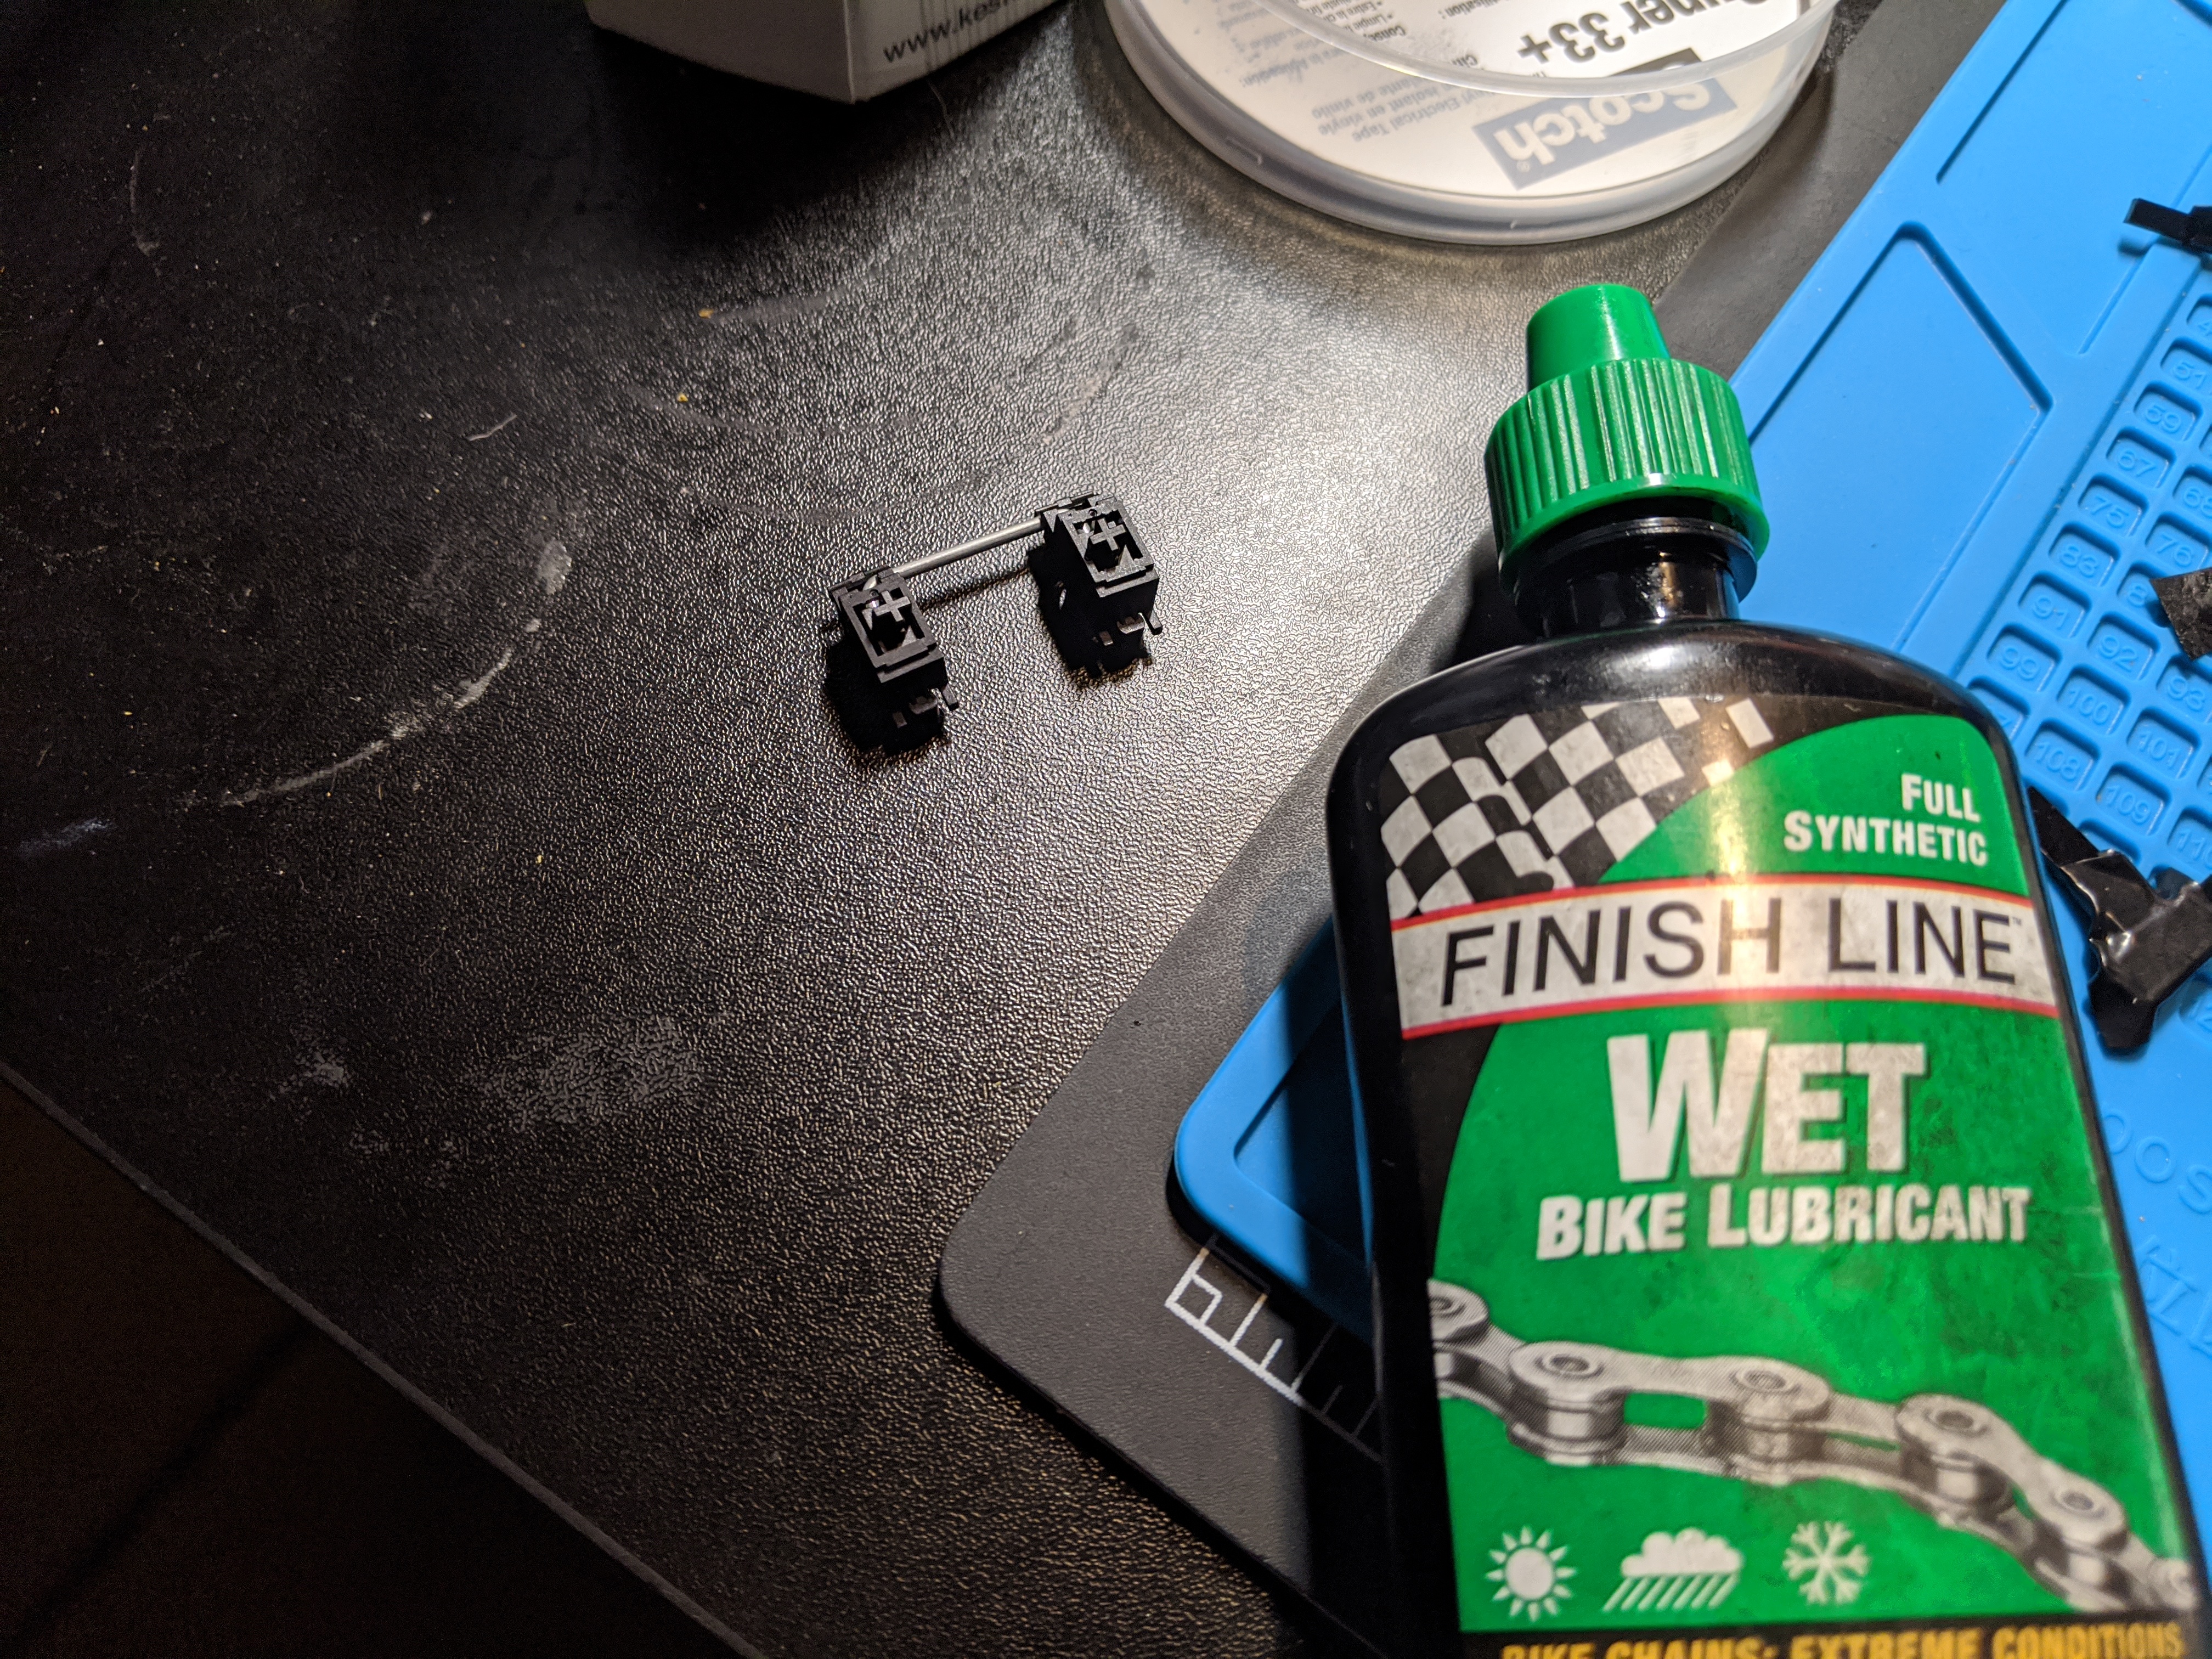 Stabilizers for the two long keys were a bit scratchy.
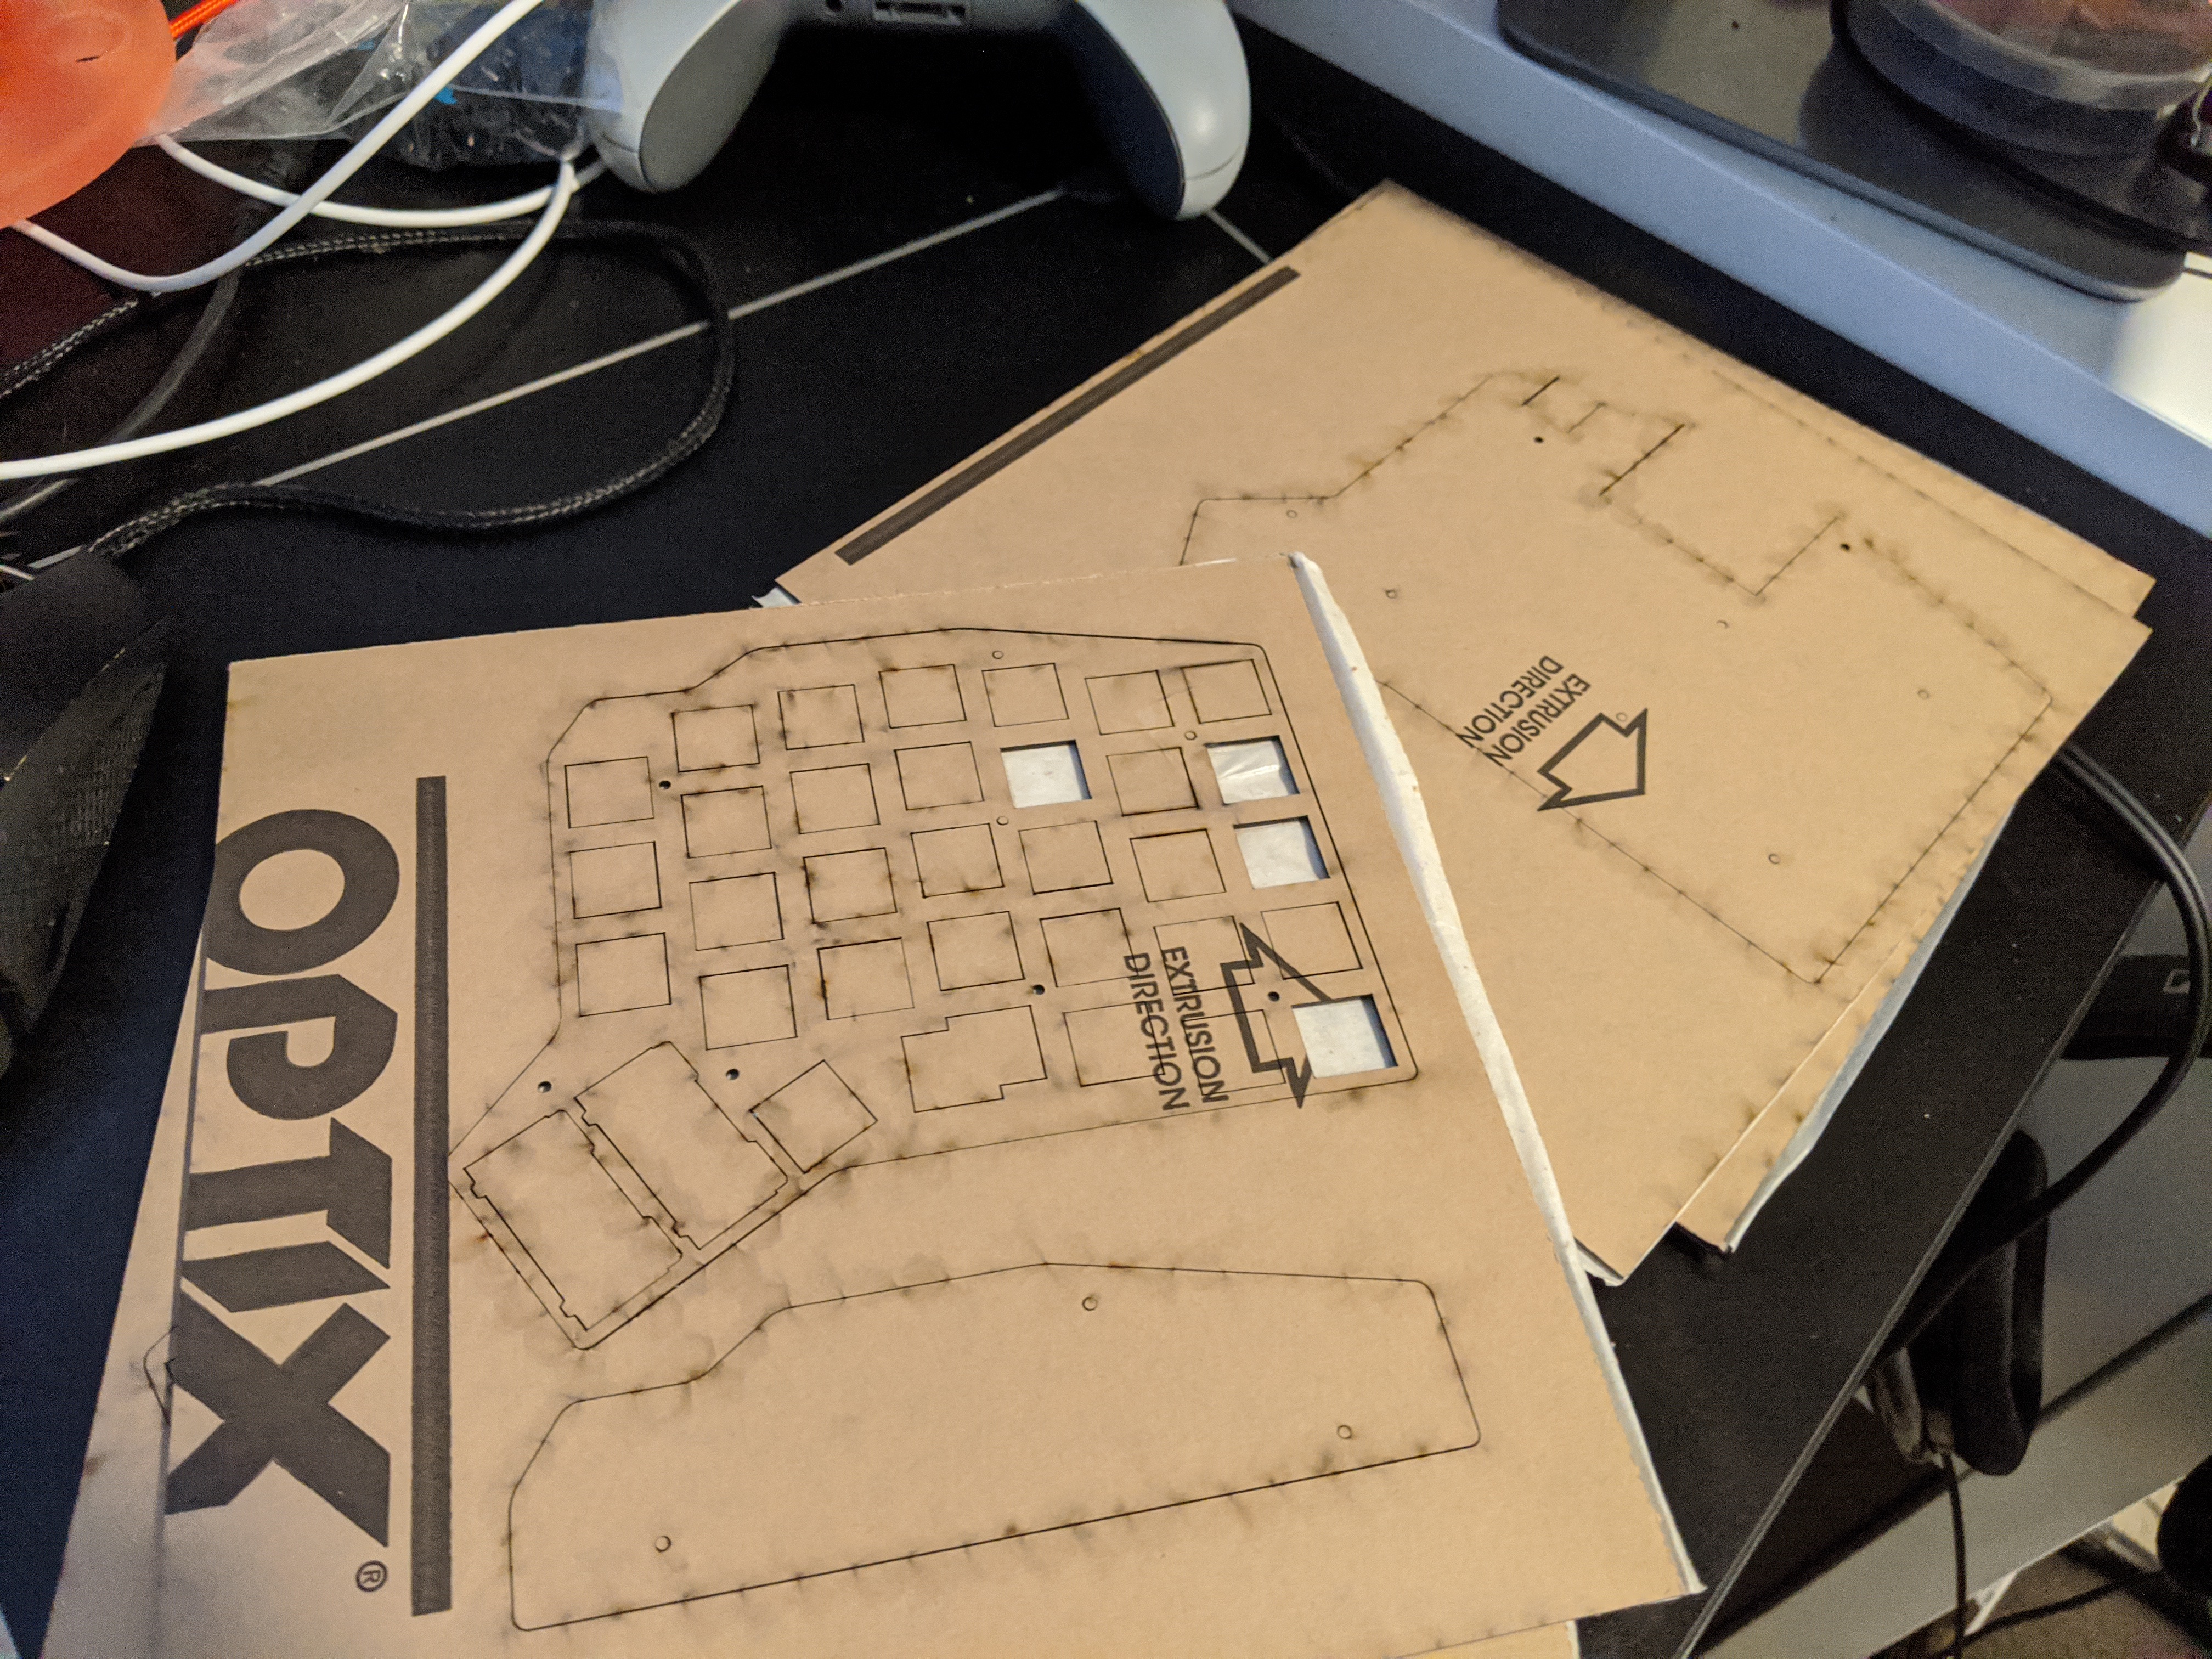 The laser-cut acrylic came accompanied by a delicious toasty aroma.
 Tightening the case. The acrylic was too thin and snapped in the thumb cluster.
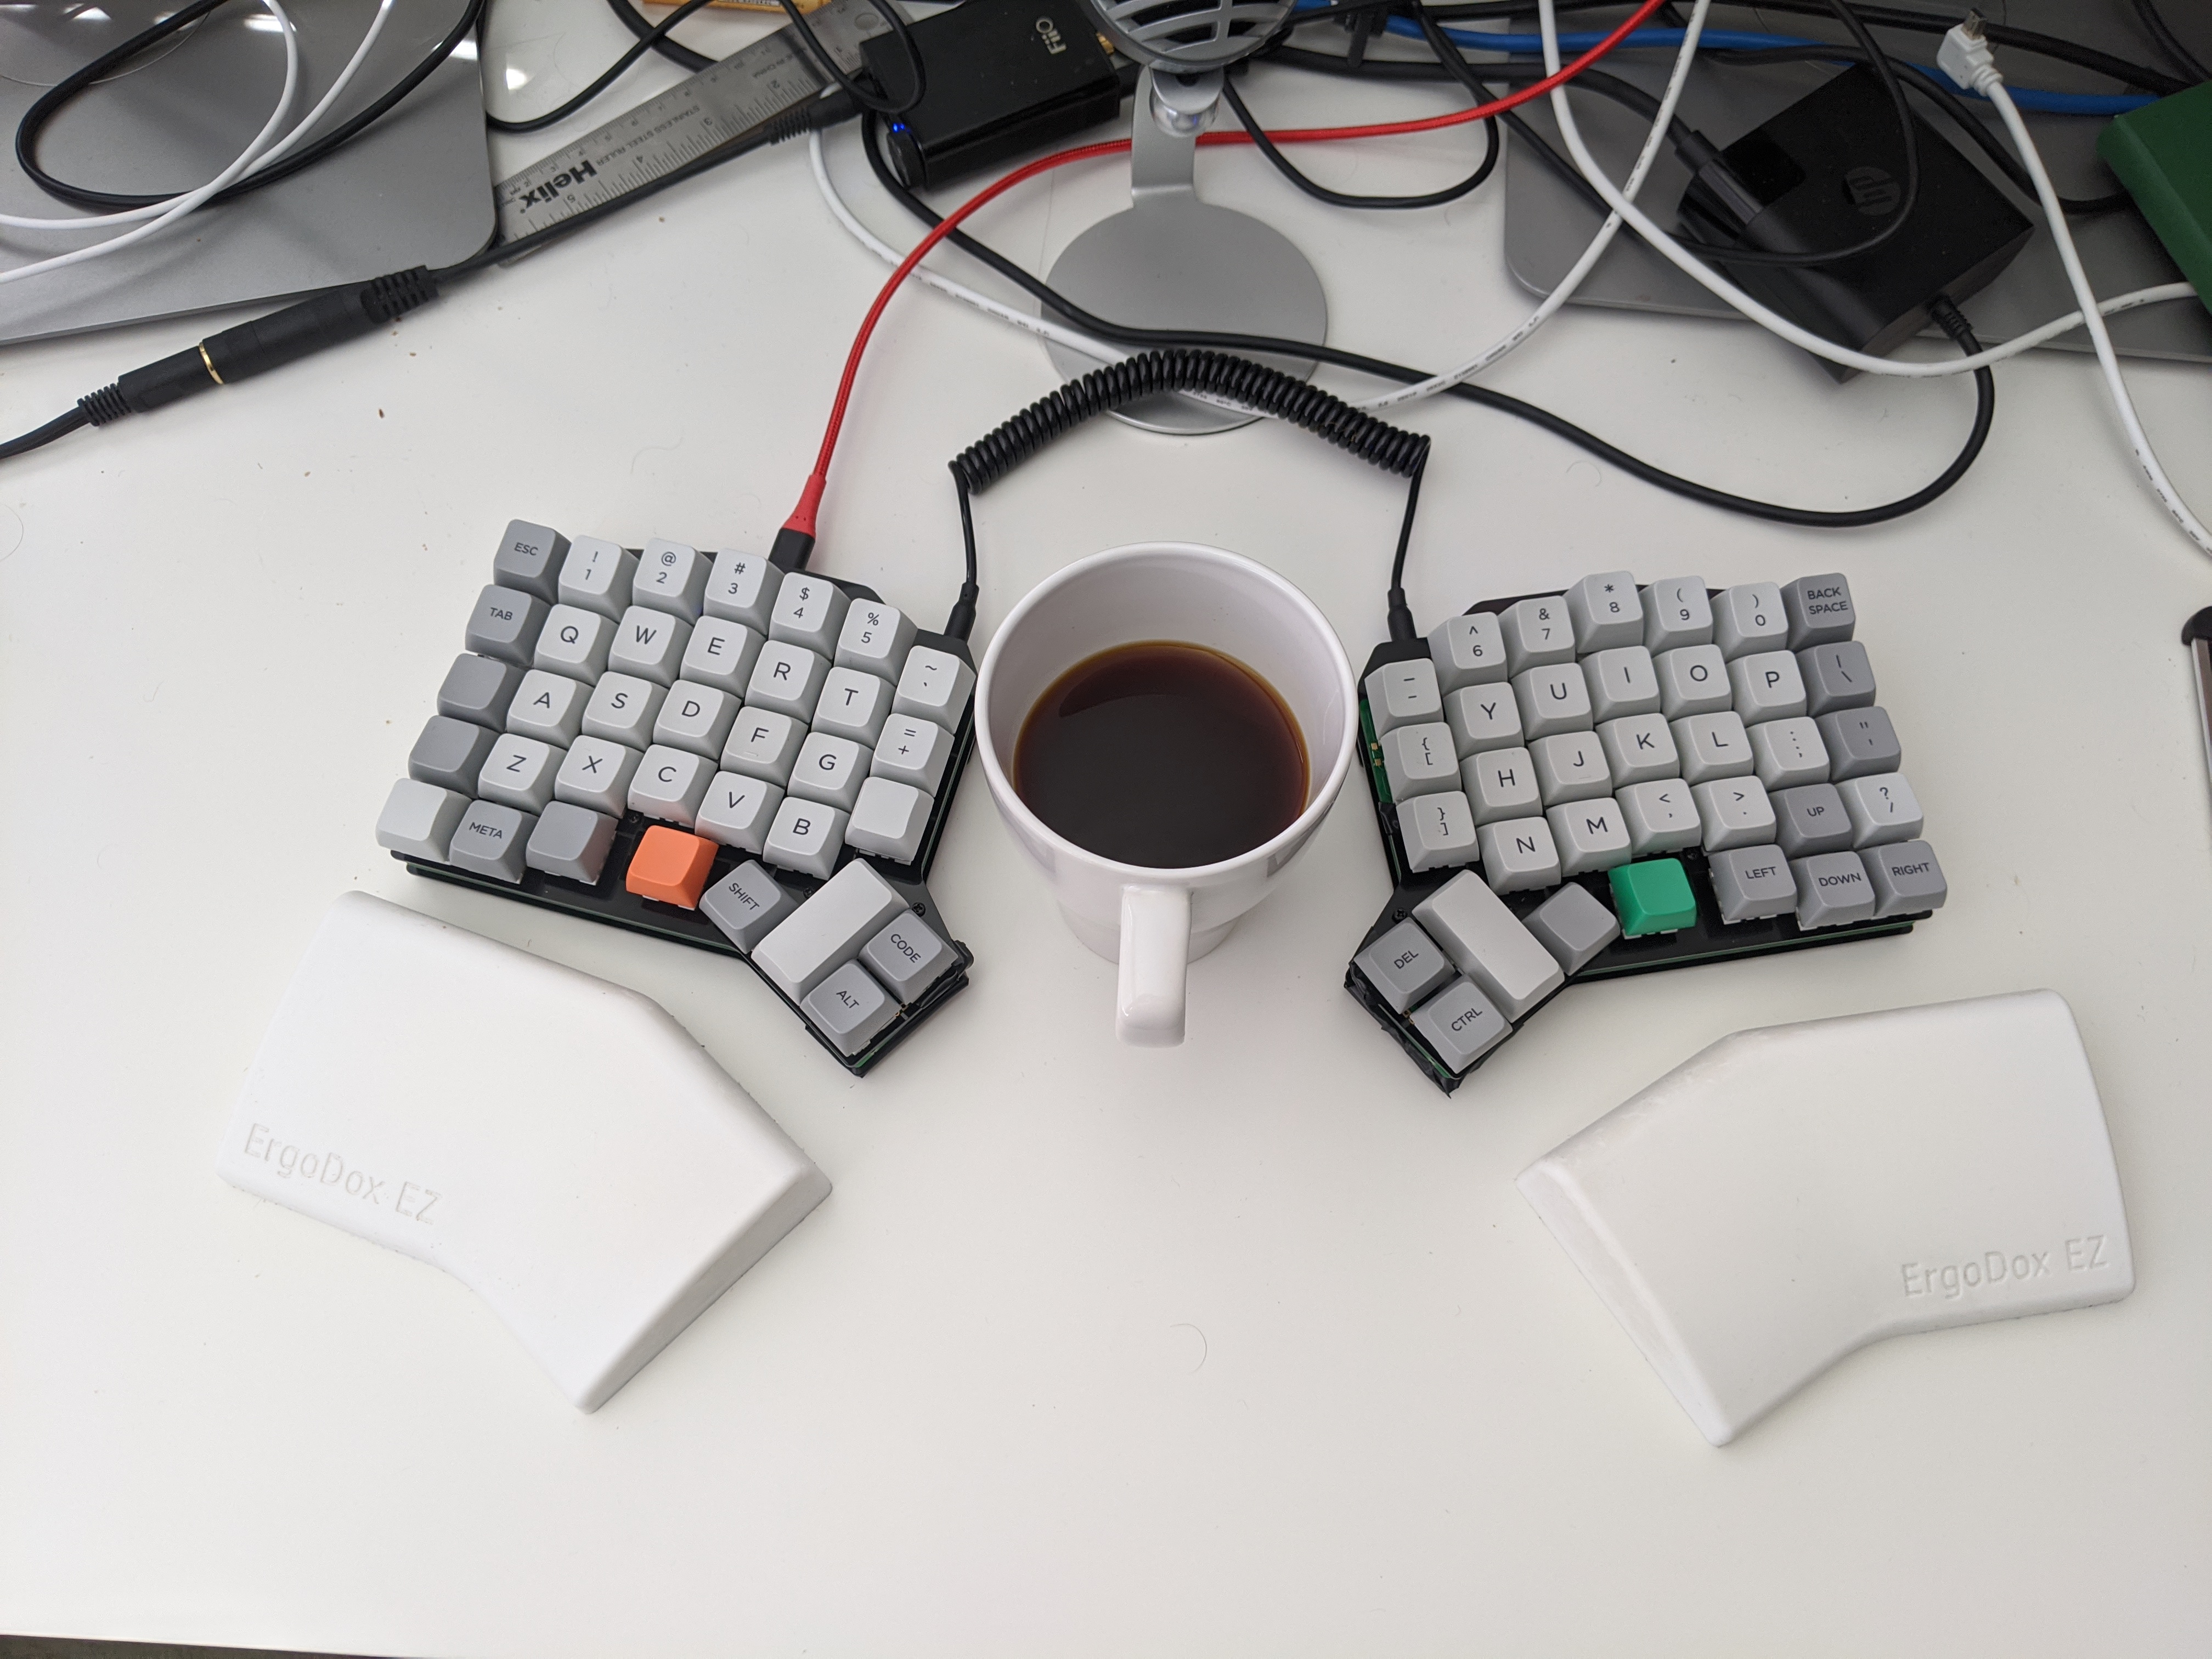 Functional, with wrist wrests! The combination of the broken plate and the hot-swap sockets made the thumb keys super wobbly.
 Reinstalled in an aluminum case, with tenting screws.
Layout
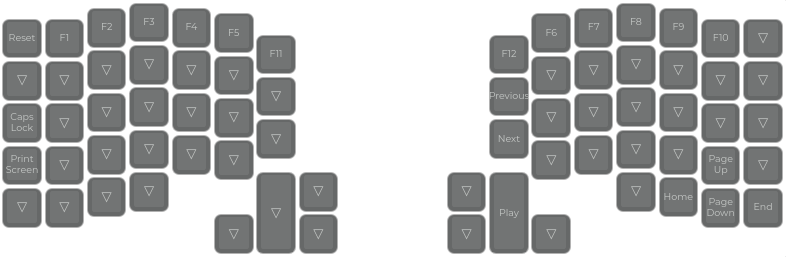
The QMK Configurator offers a nice(r) interface for keybinding than editing the config file directly. For my own, I tried to keep standard where possible (in the interest of ease of adoption and switching to my laptop).
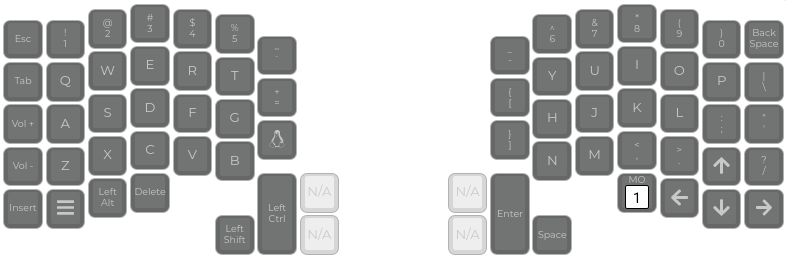
I placed my arrow keys in a cross, rather than the proper HJKL mirror, which took some time getting used to hopping over an extra column for /?.
My single function key then takes the spot liberated to the left, allowing me to do one-handed inputs of the second-layer movement keys.
My left thumb now shoulders all the standard modifiers – with Ctrl on the giant key, copy/pasting has never been so satisfying.
Super I primarily use with the number keys, for switching virtual desktops, which just requires shifting two keys up from the home row.
The single Shift is likely the most questionable bit of this layout, but I haven’t found it uncomfortable even for capitalizing left-handed letters.
I placed Space on my dominant (right) thumb, since that’s how I’d been typing naturally when given the choice of both. The implication for PC gaming is just to rebind “jump” to Delete, resulting in a slightly overcommitted finger sliding between Delete, Shift, and Control which mostly hasn’t gotten in the way (crouch-jumping is something of a nightmare now, though).
An interesting thing about this PCB design is the area with the furthest two thumb keys are perforated, so we can snap the two keys clean off to get a smaller keyboard. I notably haven’t found a great use for the extra two thumb keys per hand, so I’ll probably end up moving some of the function-layer keys down onto them.
Retrospective
I built this keyboard around the time I picked up a decent office chair (a beat up Steelcase Leap V1 which turned out to be twenty years old) and adjustable-height desk for working from home, so a lot of variables changed in my ergonomic setup at once. The abrupt pandemic-induced dropping of rock climbing may have played a part too? Some part of all this has worked great though, and typing has been completely comfortable for the first time I can remember.